Let's Design and Build a (mostly) Digital Theremin!

Posted: 1/16/2025 1:45:36 PM
dewster

From: Northern NJ, USA

Joined: 2/17/2012

Articles

A nice article on CIC filters: https://tomverbeure.github.io/2020/09/30/Moving-Average-and-CIC-Filters.html.  In particular I like the way he emphasizes the (limited) CIC use cases.  The references at the end are really valuable too.

Evidently there's a name for the buffer I stumbled across in college: https://en.wikipedia.org/wiki/Diamond_buffer.


Posted: 1/16/2025 5:36:39 PM
ILYA

From: Theremin Motherland

Joined: 11/13/2005

"A nice article on CIC filters"

Yea, really nice. Minimum of math, maximum of graph.

Posted: 1/20/2025 8:48:24 PM
pitts8rh

From: Minnesota USA

Joined: 11/27/2015

Eric, you've seen this already but I wanted to post my wood P3 here so it can be found.  I hate Facebook with the endless cascade of posts hidden by the  "would you like to know more" drop downs.  I sometimes can't even find stuff I saw in the last day or two.

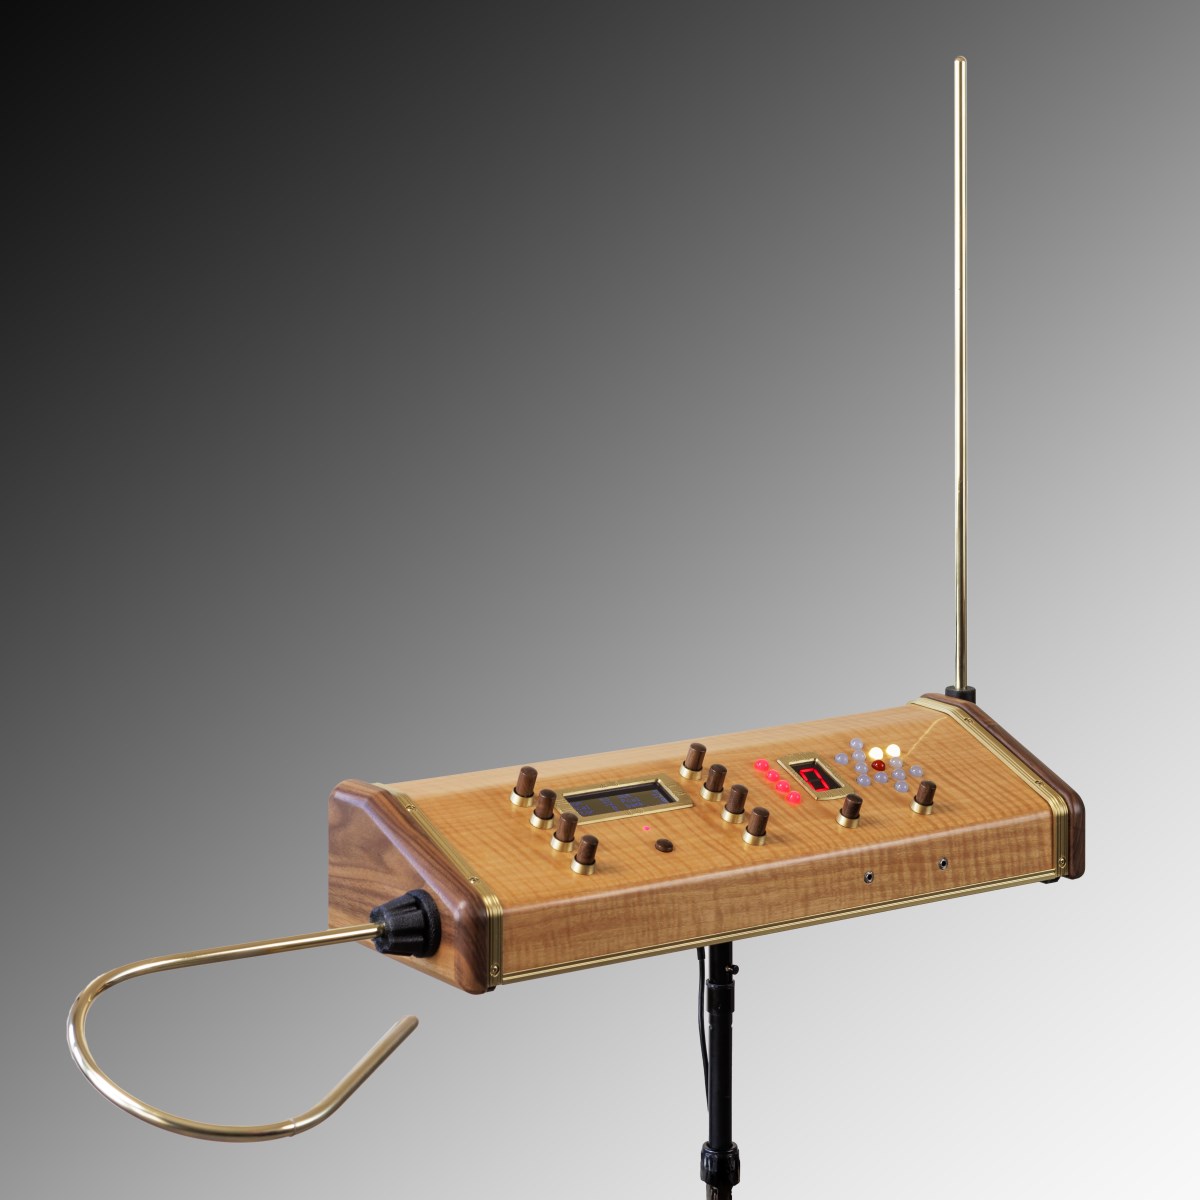
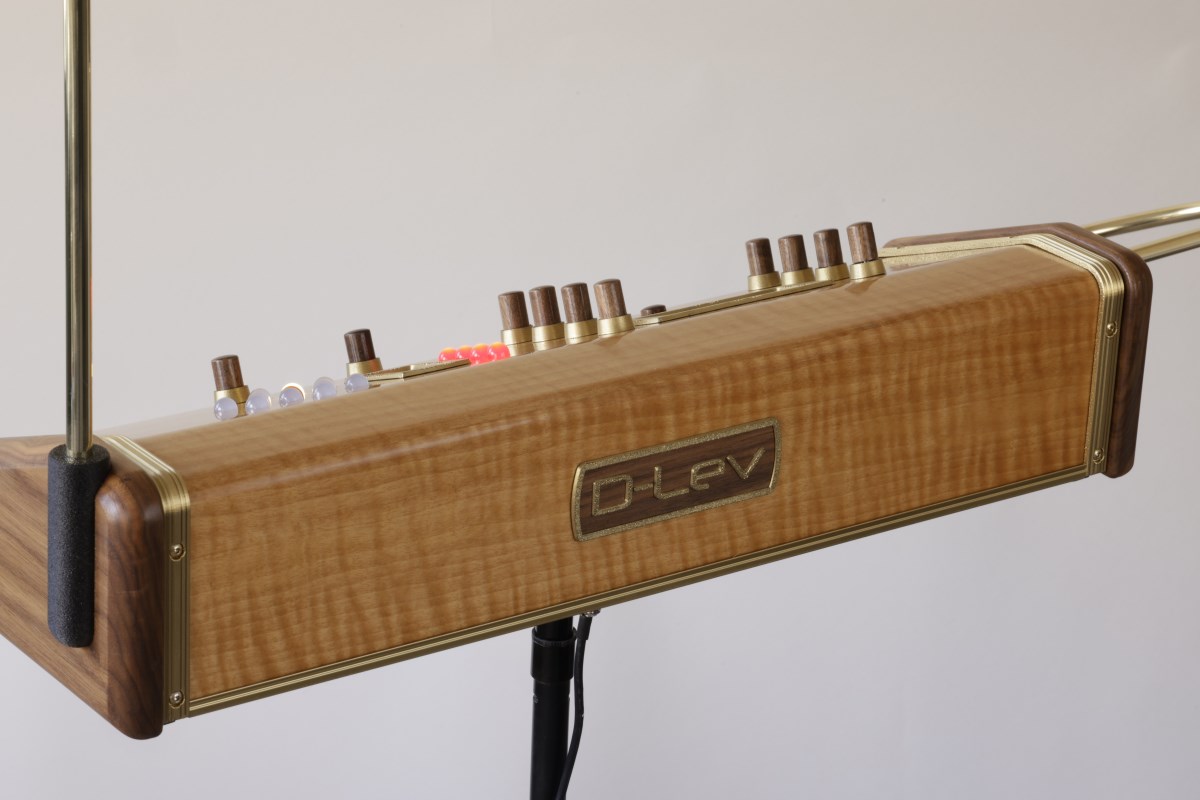
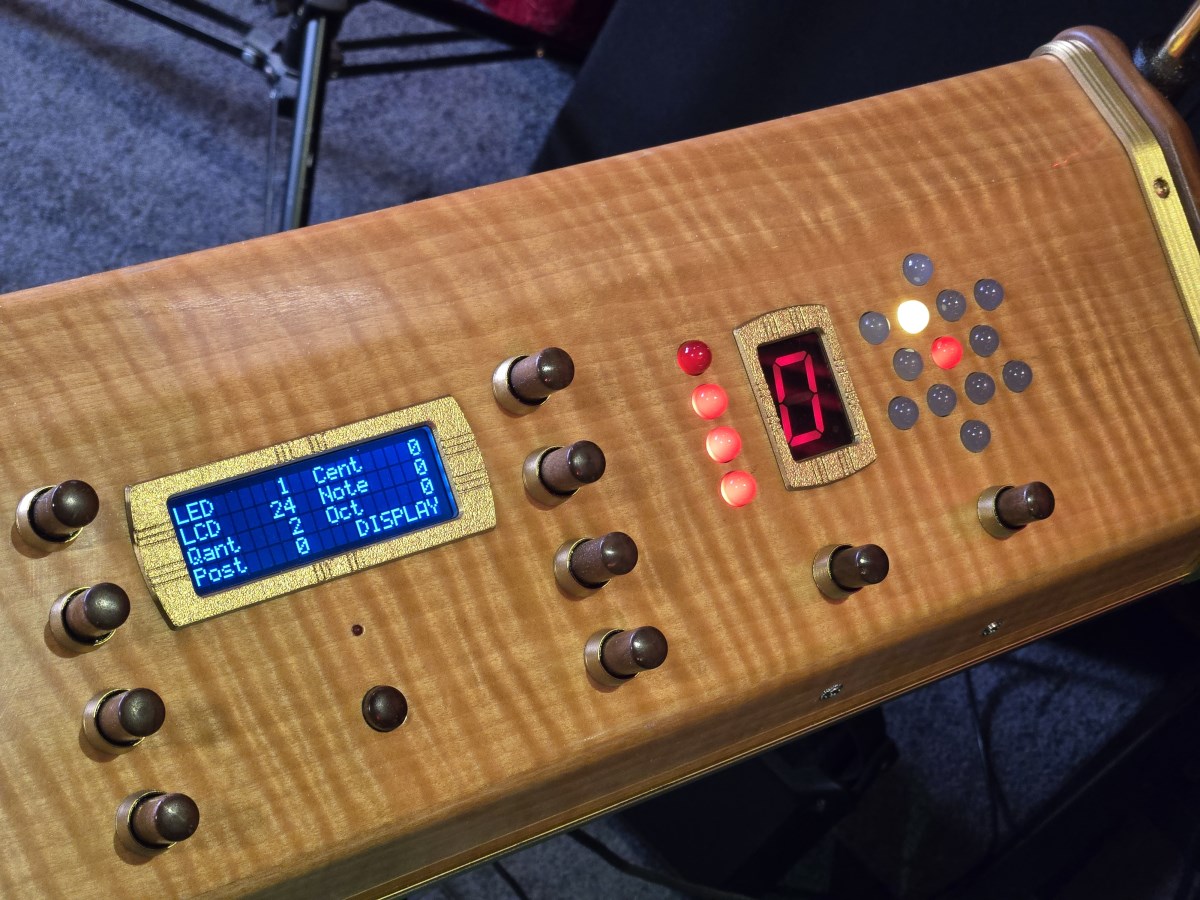
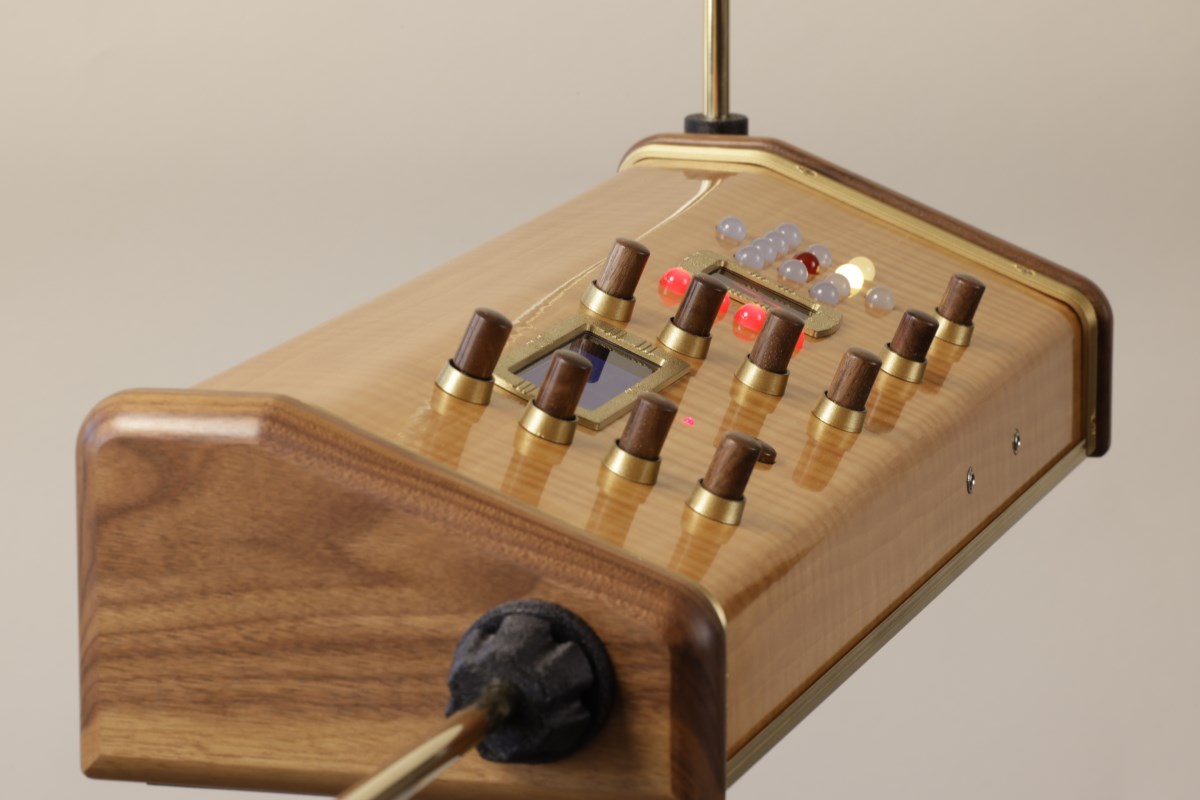
This is the latest and maybe the last P3 model D-Lev that I built for myself using leftover parts.  I wanted to try a wood panel look so I veneered one of the shells with flame maple and made wood knobs and a logo to go with it.  The antennas are solid brass but all of the other brass colored parts are 3D printed.

I'm looking at a new cabinet design that is also all wood but with different antenna mounts, a built-in reverb, and pitch preview monitor speakers on the ends of the panel facing the player (and a digital amp to drive it).  It will look a little larger but I hope to keep it the same size as the P3 model if you take into account the antenna mounts that stick out.

Anyway, here are some pictures and a video:


Posted: 1/21/2025 12:47:44 PM
dewster

From: Northern NJ, USA

Joined: 2/17/2012

"... I wanted to post my wood P3 here so it can be found."  - pitts8rh

Thank you Roger!  Wow, you've really outdone yourself - yet again!

"I hate Facebook with the endless cascade of posts hidden by the  "would you like to know more" drop downs.  I sometimes can't even find stuff I saw in the last day or two."

FB is so hostile to users, it's no good for anything other than passing remarks about whatever (and only barely good for that).

"This is the latest and maybe the last P3 model D-Lev that I built for myself using leftover parts.  I wanted to try a wood panel look so I veneered one of the shells with flame maple and made wood knobs and a logo to go with it."

Your fourth image shows a remarkably smooth surface, which must be difficult to get with such a highly figured veneer.

"The antennas are solid brass but all of the other brass colored parts are 3D printed."

Beyond the antennas, I was wondering what was brass and what wasn't.  The plastic (PETG?) parts are a bit lighter, but look amazingly like brass!  I see you added a trim strip at the bottom edges to conceal the ends of the veneer, nice touch!  Pretty Deco flair too (which you've been aching to do for a while now)!  I wonder how you made the logo - by gluing individual letters and trim to the wood backing?

"I'm looking at a new cabinet design that is also all wood but with different antenna mounts, a built-in reverb, and pitch preview monitor speakers on the ends of the panel facing the player (and a digital amp to drive it).  It will look a little larger but I hope to keep it the same size as the P3 model if you take into account the antenna mounts that stick out."

I'd be interested to know if the digital audio amp gives you any interference with the fields.

"Anyway, here are some pictures and a video:"

Amazing!  And you got a well deserved "takes your breath away" from Lydia!  Is it OK if I put a couple of your pix & video on the D-Lev web page?

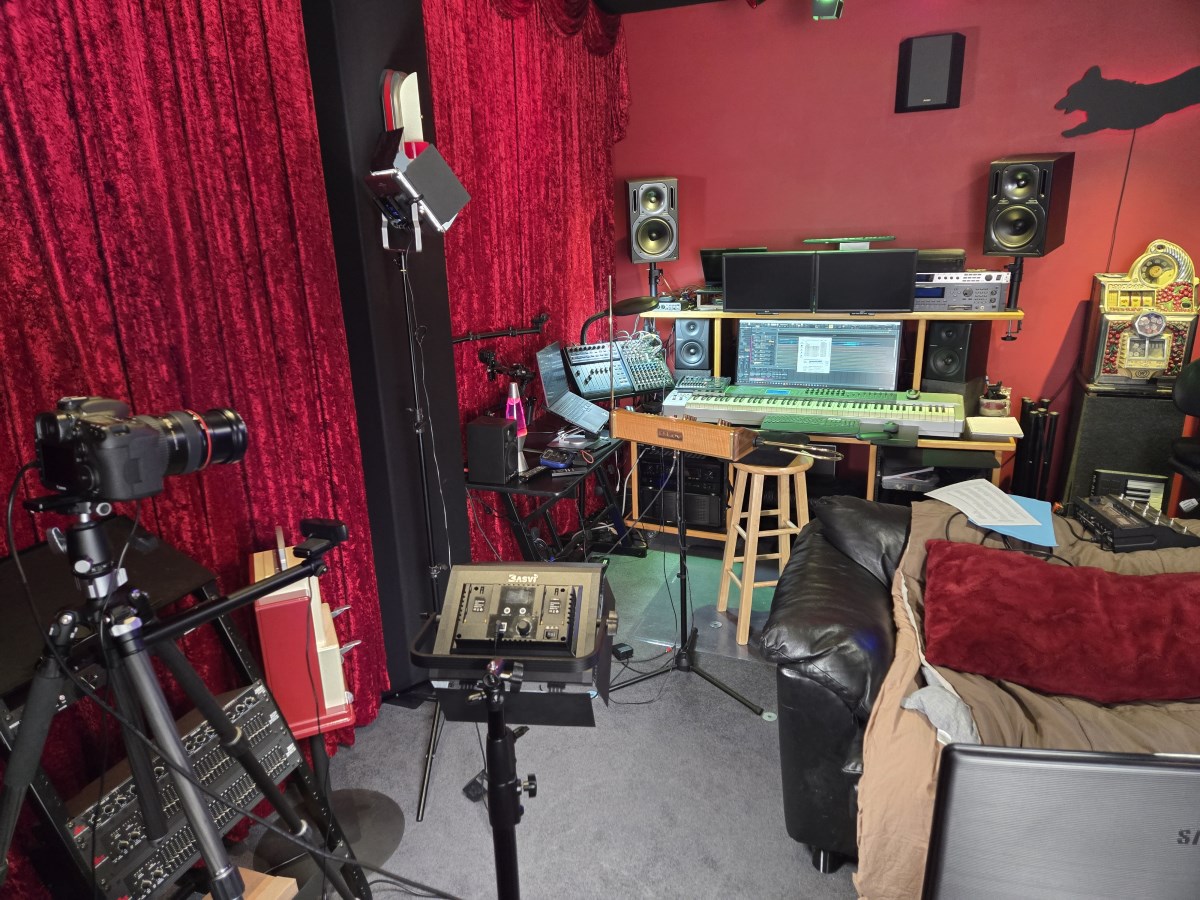
(Cool seeing the video recording setup too!)

Posted: 1/21/2025 3:13:56 PM
pitts8rh

From: Minnesota USA

Joined: 11/27/2015


"Beyond the antennas, I was wondering what was brass and what wasn't.  The plastic (PETG?) parts are a bit lighter, but look amazingly like brass!  I see you added a trim strip at the bottom edges to conceal the ends of the veneer, nice touch!  Pretty Deco flair too (which you've been aching to do for a while now)!  I wonder how you made the logo - by gluing individual letters and trim to the wood backing?"

The plastic parts are black PETG lightly painted with some Rustoleum brass, which is a very good match.  Those strips on the front (and back) were mainly not for decoration, but necessary because the veneered panel was a little underformed and had a slight outward bow in the middle.  The strips are L shaped and are screwed into the bottom to pull the bowed panel in tight.  They are (horrors!) aluminum, but I tested with and without for a long time and see absolutely no difference in behavior and in fact they don't even change a given calibration very far when introduced into that area.  There weren't many other options short of putting screws in the panel itself.  I won't be doing this type of panel mount again anyway.

Yes the logo was made by gluing the letters to the pre-finished backing veneer.  While the letters were still on the printer sheet I applied a piece of tape over all the letters and popped them off the plate as a whole.  The letter sides and faces were then painted while on the tape.  When dry I repeated the tape lift-off procedure using clear packing tape applied to the letter faces, this time pulling them off the original tape.  The clear tape allowed me to visually align the combined letters onto the veneer within the outer frame.


"I'd be interested to know if the digital audio amp gives you any interference with the fields."

I was going to brag that I've been testing it for some time now without issue until I realized that I grabbed an analog amp when I thought it was a digital.  I bought several different amps a long time ago and I didn't know what I stuck in there.  Even so, the heat generation is minimal so I could just use this one.

"Amazing!  And you got a well deserved "takes your breath away" from Lydia!  Is it OK if I put a couple of your pix & video on the D-Lev web page?"

I really don't know what that comment was about, but I do appreciate the thought. What takes my breath away is that I actually hit that note correctly, because unbeknownst to me I have been playing that one semitone off for years, and every time I get to it I have to ready myself.  When I'm zoned out I will revert to playing the wrong note.

Yes photos and videos are fine to post, and you don't have to ask.


PS: Apparently my problem of being unable to make original posts (that even Jason couldn't fix and ultimately made me abandon TW) has resolved itself.  We'll see...

Posted: 1/22/2025 1:43:20 AM
dewster

From: Northern NJ, USA

Joined: 2/17/2012

"The plastic parts are black PETG lightly painted with some Rustoleum brass, which is a very good match."  - pitts8rh

It certainly looks authentically brassy!  Have you tried any of the gold PETG filaments?

"They are (horrors!) aluminum, but I tested with and without for a long time and see absolutely no difference in behavior and in fact they don't even change a given calibration very far when introduced into that area."

The concern for me might be coupling from one field to another, but that isn't much metal.

"I really don't know what that comment was about, but I do appreciate the thought."

My breath is taken away just before that around 1:59, the pitch sweep up and volume articulation sounds scarily realistic and delicate.

"What takes my breath away is that I actually hit that note correctly, because unbeknownst to me I have been playing that one semitone off for years, and every time I get to it I have to ready myself.  When I'm zoned out I will revert to playing the wrong note."

OMG don't you hate that?  There's almost no shaking it.

"Yes photos and videos are fine to post, and you don't have to ask."

Done, thanks!

Posted: 1/22/2025 3:04:56 AM
jsherm

From: Bucks County, PA

Joined: 1/6/2025

Wow that theremin looks amazing! Great sounding performance too! I'm just blown away by you all!

Posted: 1/22/2025 11:22:23 AM
pitts8rh

From: Minnesota USA

Joined: 11/27/2015

Eric, I edited the above post to answer your question about how the logo was made.

Posted: 1/22/2025 11:35:20 AM
dewster

From: Northern NJ, USA

Joined: 2/17/2012

"I edited the above post to answer your question about how the logo was made."  - pitts8rh

Ah, so clever!  What glue did you use to affix the logo lettering?  For some reason I've always thought PETG was basically unpaintable and ungluable (kinda like nylon).

Posted: 1/22/2025 2:02:54 PM
pitts8rh

From: Minnesota USA

Joined: 11/27/2015

PETG Paintable - no problem, although the paint solvents don't really melt into the PETG, nor is is necessary because of the excellent tooth adhesion where the paint permeates the porosity.  But there is a primer that will soften the PETG.

PETG Glueable - on this light scale super glue is often used and there is enough porosity in the printed plastic that epoxy works too, which is what I used.  But I do have a solvent used for bonding acrylic (not available in stores) that does melt and presumably help form a welded bond in PETG.

You must be logged in to post a reply. Please log in or register for a new account.