This article was contributed by Adrian Bontenbal
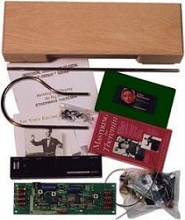
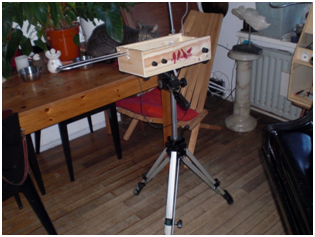
One of my Christmas gifts was a wooden box with two bottles good wine. After Christmas, the bottles empty, I’ll get the idea to build a wine box theremin. I’ll took the old transistor theremin schematics from ‘Strange Apparatus, How to build a Theremin” (internet and Theremin ring) to build my wine box theremin.
The Pitch part was no problem at all. Only the oscillator frequency has to a bit higher to get the hand sensitivity right (~200 kHz. ).
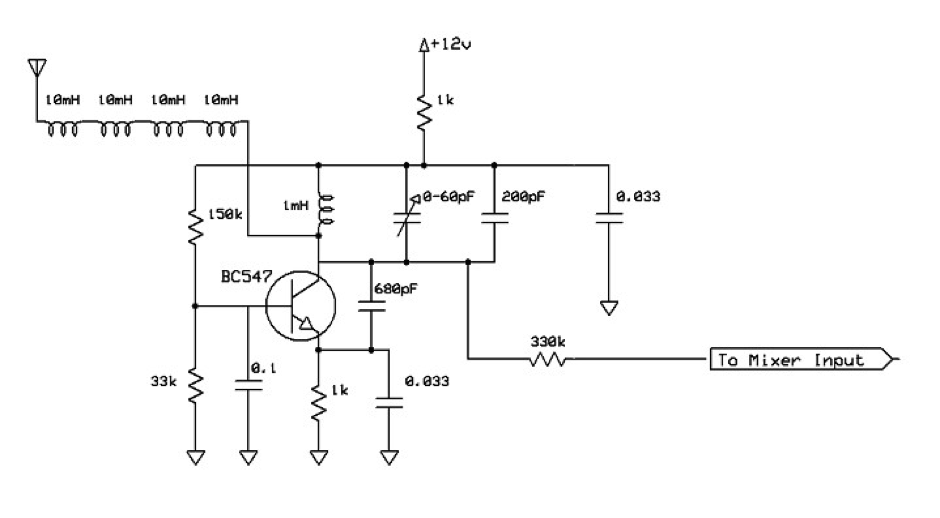
Variable Pitch Oscillator
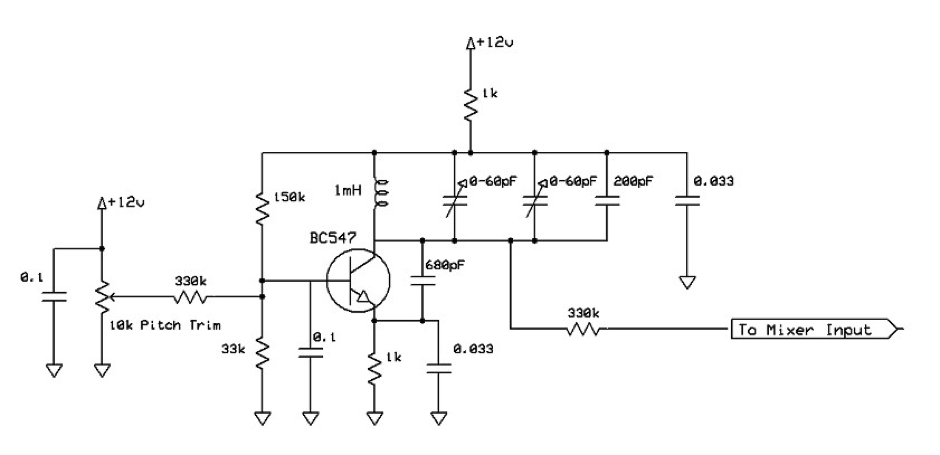
Fixed pitch oscillator
To make experiments easy, it is better to make the five parts on separated print plates. And test each part on frequency and sensitivity. Also make the oscillating. parts (caps and coils) on small experiment boards to make frequency changing easily, for optimizing hand sensitivity.
With a counting scope it is very easy to get the variable and fixt pitch oscillators in tune. Both the signals go with a shielded wire to the mixer, also an easy design.
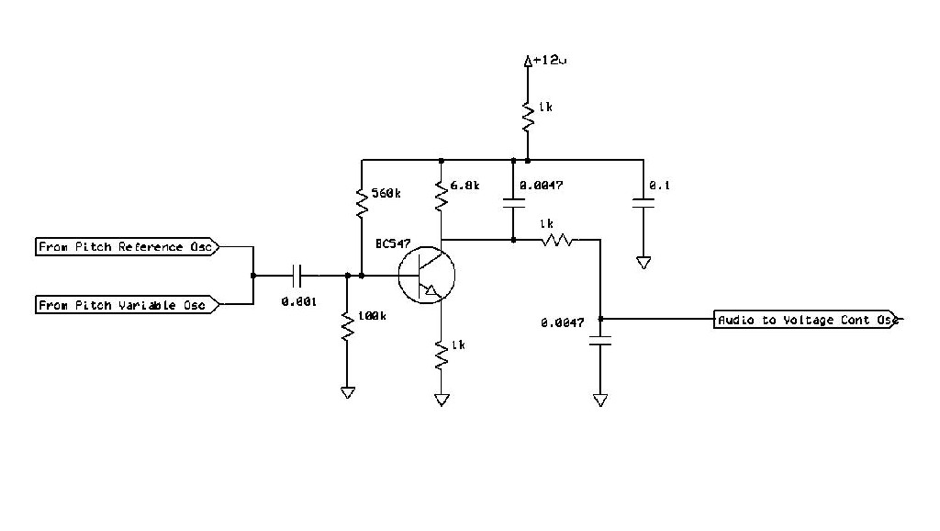
With an earphone on the output from the mixer you can optimize the hand sensitivity and the pitch range by changing the oscillators.
The volume is another story.
The variable volume oscillator is not a problem.
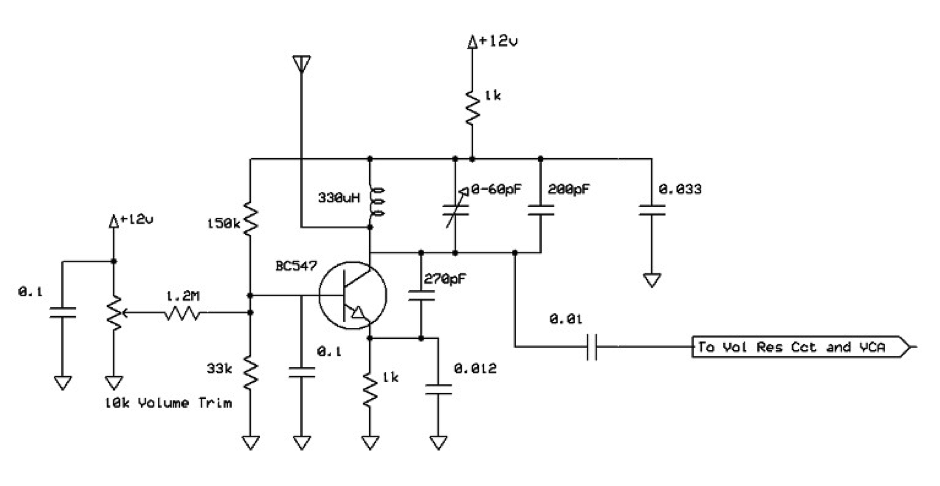
Variable volume oscillator
With the given L and C, the voltage oscillator oscillate at 360 kHz.. The resonant oscillator in the voltage control part, that is coupled to the output of the voltage oscillator has to tune in with the same frequency.
A resonance circuit with a L of 330 μH and a C of 560 pf will do that perfectly. I’ll calculate the L and C resonance circuit with a calculator that I find on the internet.
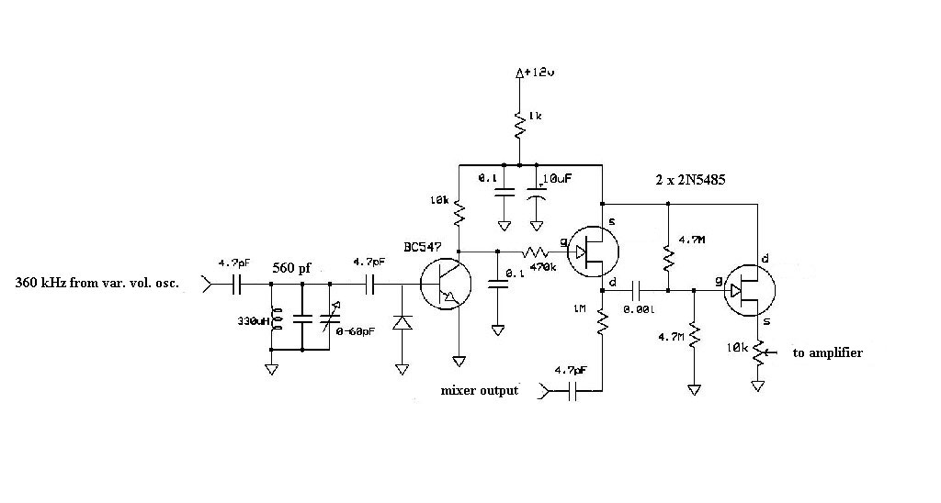
Resonance LC circuit and volume control part
The volume control part is a bit tricky, the field effect transistors (2N5684) are outdated, and not in the stores anymore. So I’ll have to change this part to get a good working instrument. I’ll found on the internet a few 2N5485 that worked also fine.
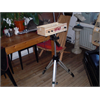
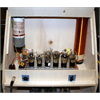
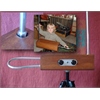
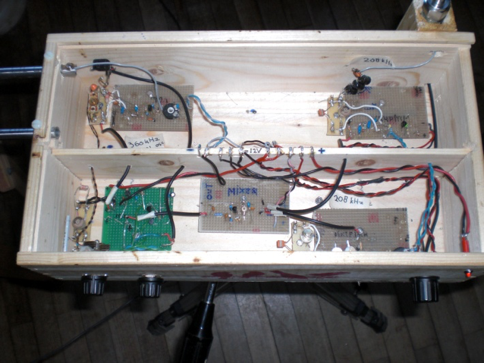
I even used the wood strip that separates the bottles. I drilled 10 holes in it, to make a supply terminal. Silvered copper wire thru five holes for the 12V + and also for the 12 V -, and you have supply connectors for the different print parts. On the bottom is a ¼ inch screw plate, so you can put the instrument on a photo tripod for use.
Greetings,
Adrian Bontenbal
a_bontenbal@live.nl
The Netherlands.


